Plant Mom Problems: Beautiful Planters, Scary Price Tags
Some links in this post are affiliate links. If you buy through them, I earn a small commission at no cost to you. I only recommend things I’ve actually used.
Today I’m showing you how to make a DIY cement planter on a budget — using stuff you probably already have lying around the house. Now, I’ve seen some gorgeous cement planters, with the price tag to match! And who is not interested in tossing money to planters? It’s me!
My DI-trY journey always includes Youtube University; and during this enrollment, I found Casa Refined, who showed a great way to inexpensively create your own inexpensive cement planter.
Speaking of Learning How to Make A Cement Planter via YouTube…
Have you subscribed to my channel Relaunch In Color? I’ve taken most of my projects LIVE! You can watch some of my latest projects simply by clicking below.
Now back to these affordable cement planters you can make for yourself.
Casa Refined (Jorge) chose to use old thin towels; but I was able to find a few old t-shirts lying around the house. I think it may have been best to use old towels because cutting my old shirts was a tedious task. Although, I think it could also be attributed to the dull scissors I used. In all, I used about three old, thin tees.
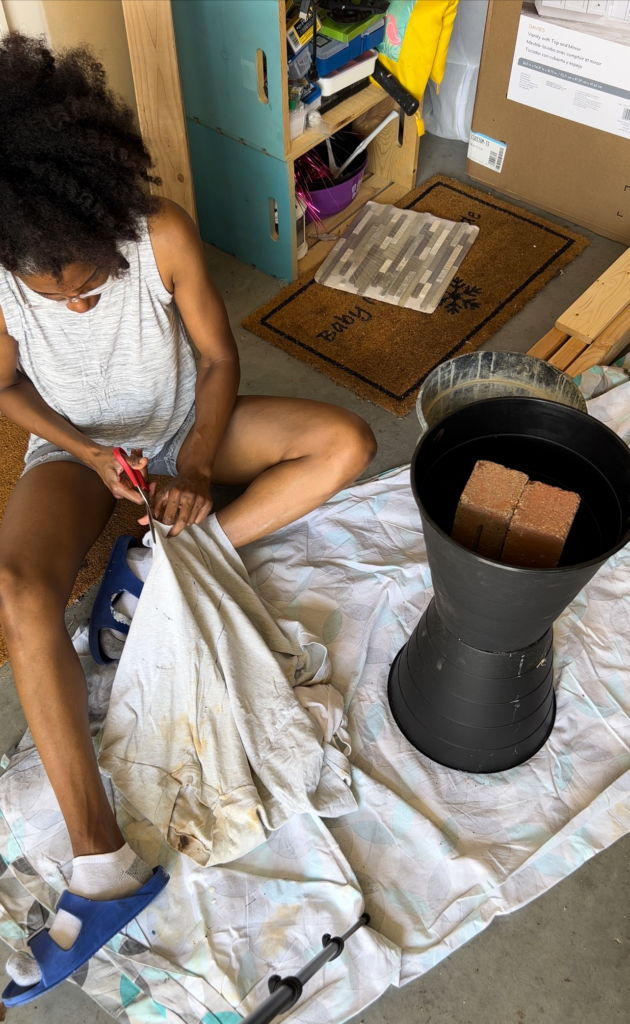
How to Make a DIY Cement Planter Step-by-Step
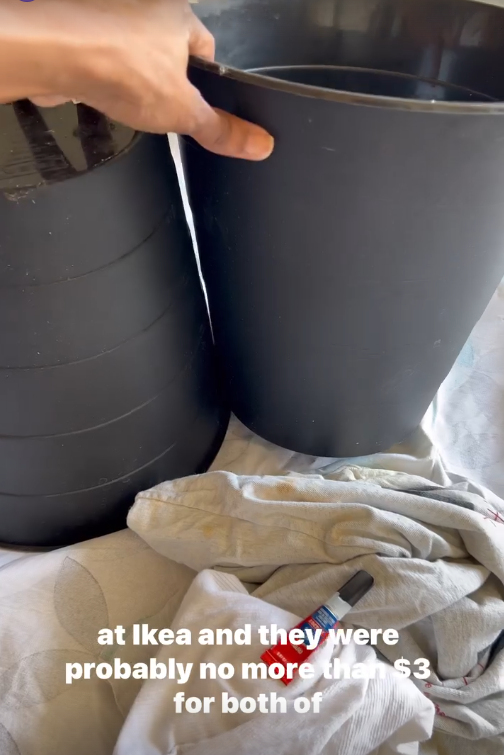
These IKEA buckets were inexpensive and made for a decent height after super gluing the two bottoms together. Keeping in mind, when adding the plants of your choosing, there will be additional height added to the planter.
I mixed the cement as if making pancake batter. Hopefully, you’ve made pancake batter where you just add water. If not, you basically want the cement to not be too liquified but also not too pasty.
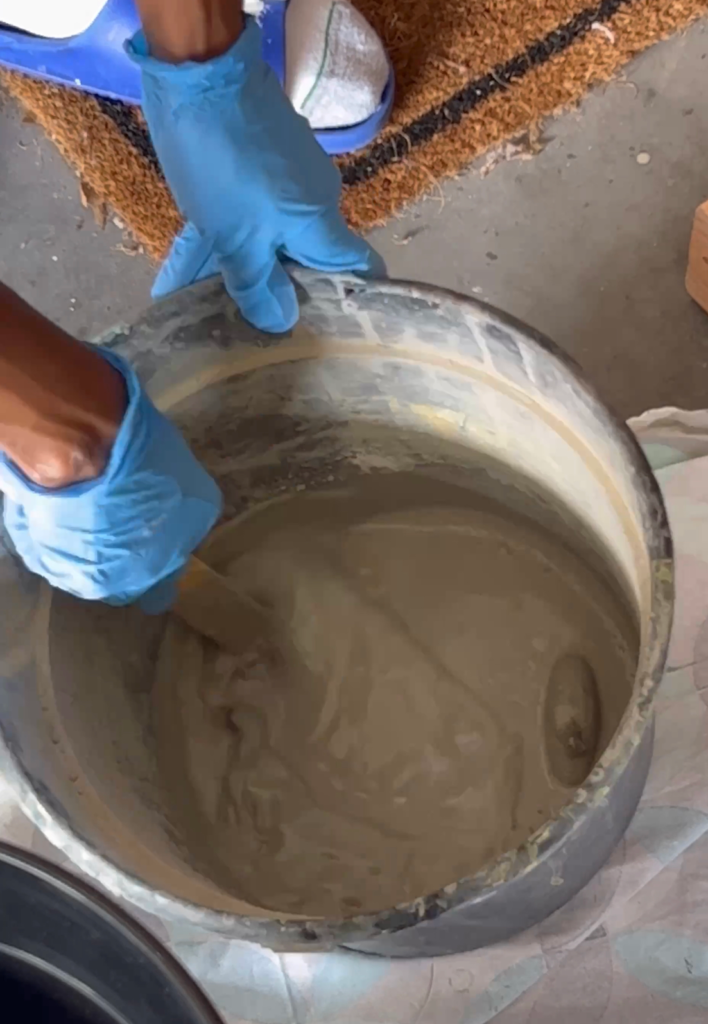
Side Note: don’t forget to wear a face mask of some sort to protect yourself from inhaling the cement dust as you mix. I definitely needed a mask when I had to cut all the wood and sand for my remodeled pantry.
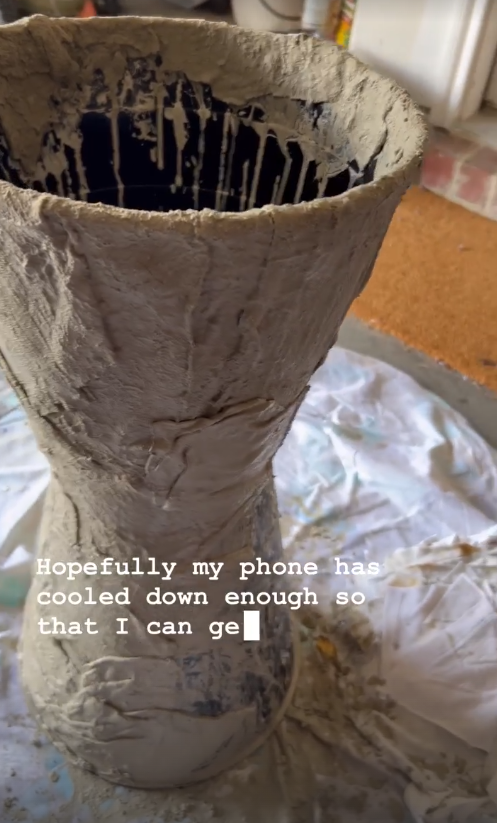
After mixing the cement, it’s now time to take the cut-up shirt pieces; wet with “cement sauce” (not all at once; preferably individually but moving with a swift pace as the cement will begin to thicken in the mixing bucket)and start applying the shirt pieces to the bucket.
Allowing the finished application to dry over 24 hours, the cement planter now looks like this.
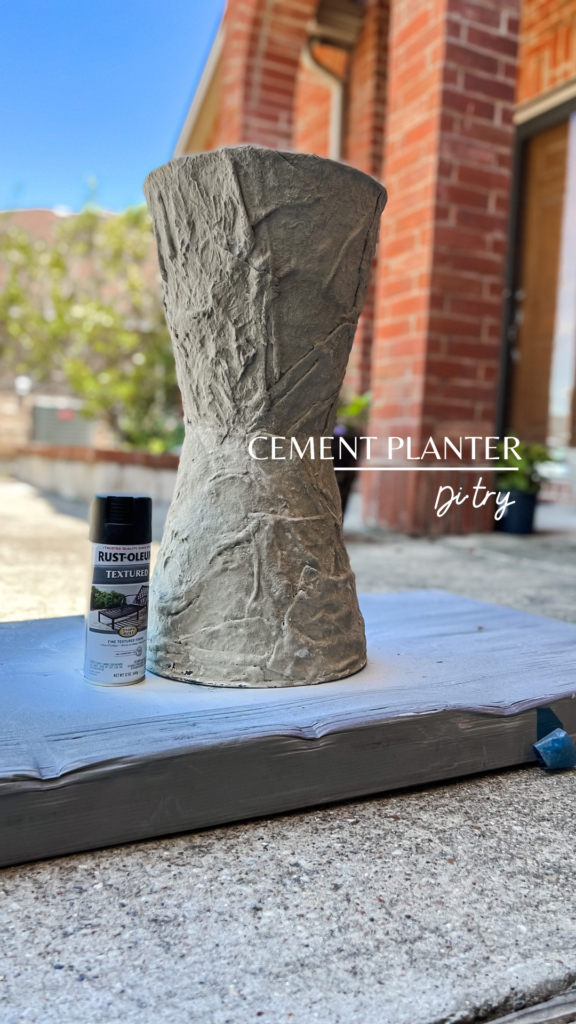
Notice the texture and sense of movement the tee shirts give the planter. I’m excited!
Before moving on to the next steps, I added one more coat of “cement sauce” over the completed planter -just to act like a final sealant. Once this cures, which wasn’t long since it’s presently 100 plus degrees here in Texas, you can either leave it as is or do what I did… Pull out a can of your favorite spray paint!
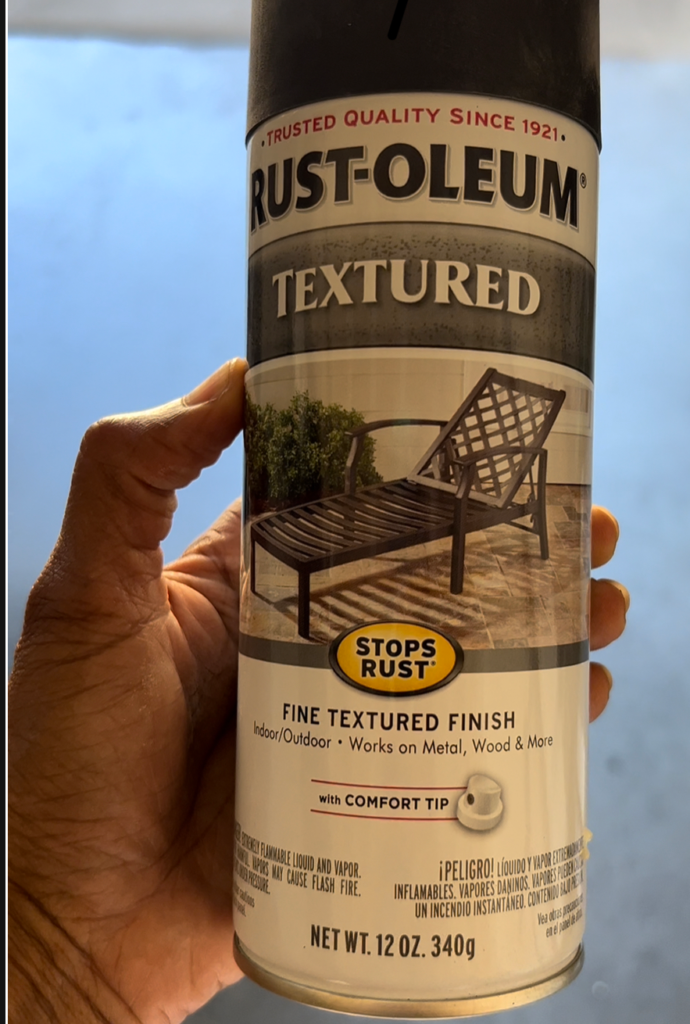
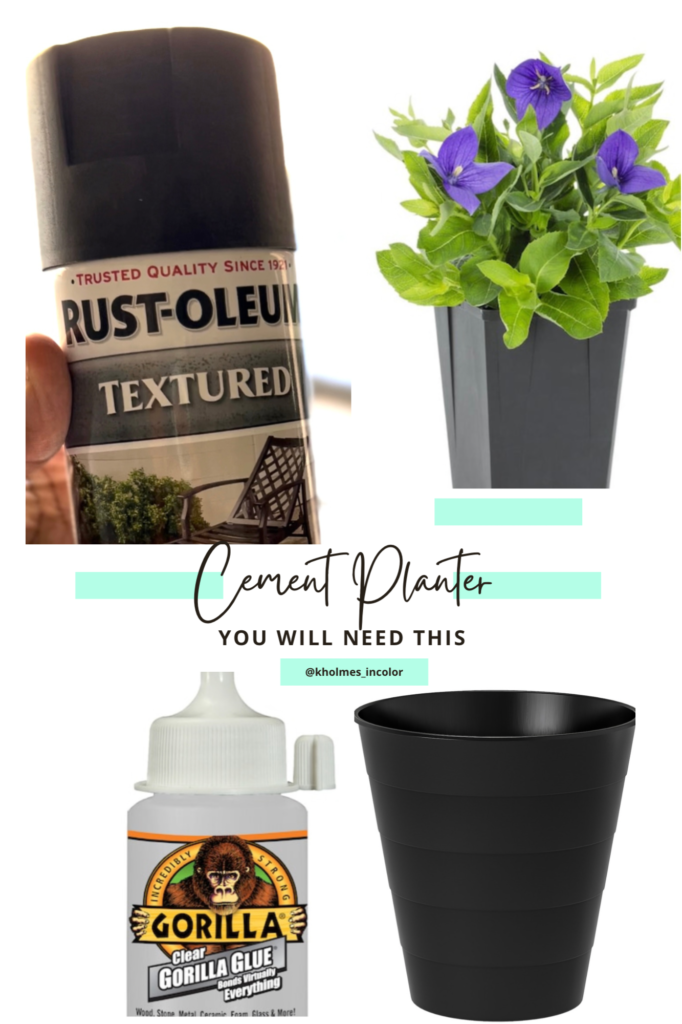
For me, I used Rustoleum Textured interior/exterior spray paint in black. Although the planter already has texture from using the cemented pieces of t-shirt, I still wanted to give the piece an added ‘lift’.
The Finished DIY Cement Planter (Plant Mom Approved!)
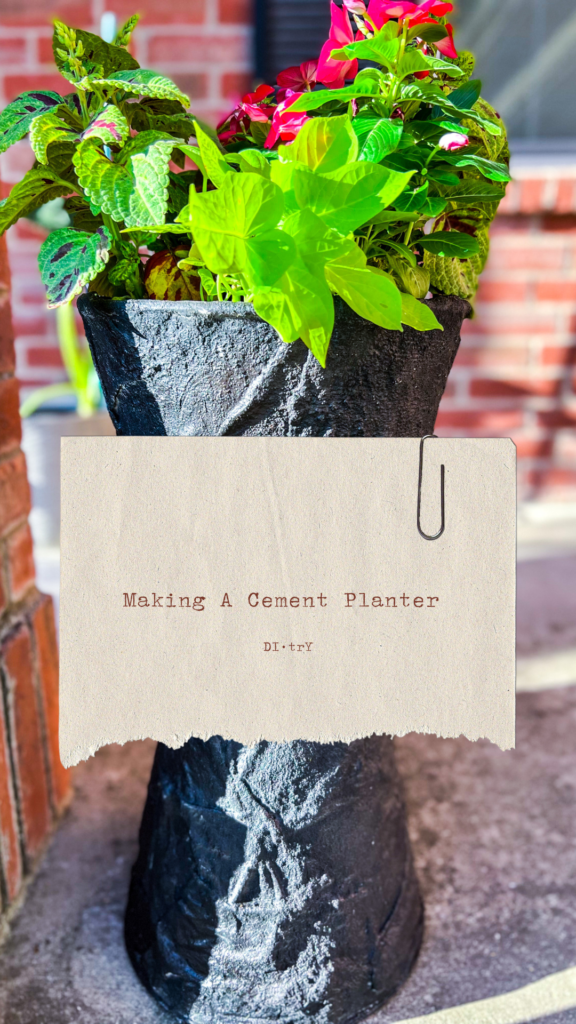
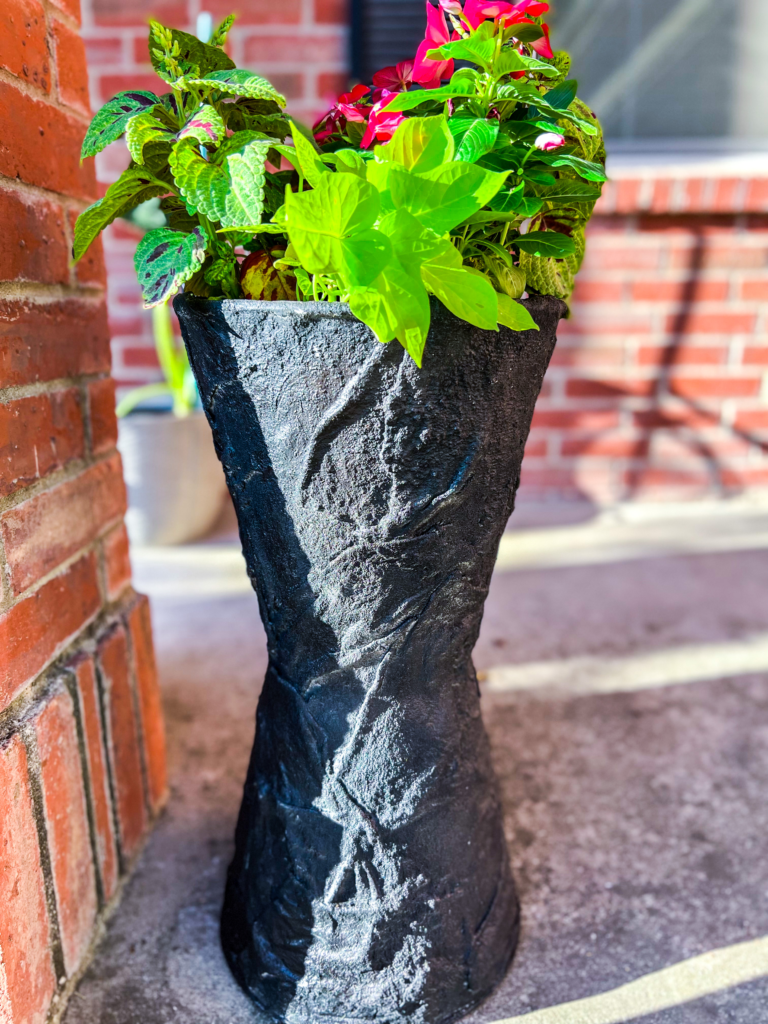
Finally, and with some flowers added, this project made for a simplistic addition to my front porch. Now, I need to make another planter, but definitely early in the morning. That Texas heat is a BEAST!
Would you try making your own cement planter?
What You’ll Need to Make Your DIY Cement Planter
DIY Cement Planter FAQs
How long does the cement planter take to dry?
Drying time depends on temperature and humidity, but most cement planters need at least 24–48 hours to fully cure before you remove the mold, and a few more days before planting.
What kind of cement should I use for a DIY planter?
A general-purpose concrete mix works, but for smoother detail and thinner walls, many plant moms prefer a fine mix like cement-all or a sand-based mix. Avoid mixes with large gravel chunks — they make small planters lumpy and weak.
Do cement planters need drainage holes?
Yes — cement holds moisture, so a drainage hole keeps roots from rotting. Push a dowel or straw through the wet cement while it’s setting, or drill a hole once it’s fully cured. If you’d rather not, use it as a decorative outer pot (cachepot) and keep your plant in its plastic nursery pot inside.
Why did my cement planter crack?
Cracks usually come from a mix that’s too dry, drying too fast in direct sun or heat, or removing the mold too soon. Mix to a smooth peanut-butter consistency, cure it slowly in the shade, and give it the full set time before unmolding.
Are DIY cement planters safe for plants?
Once fully cured, yes. Fresh cement is alkaline, so some plant parents “season” a new planter by soaking it in water for a day or two (changing the water once) before planting, which leaches out excess lime and is gentler on roots.
Well that’s all for now. Until we meet again…