Upgrading My Builder Grade Pantry to Function Better
🎥 Prefer to watch instead of read?
My builder grade pantry was robbing our family’s grocery budget! This pantry needed to be upgraded for better functionality and cost savings.
Why a Builder Grade Pantry Costs You More
After finding three half-eaten bags of the same brand of chips and 2 bottles of expired mustard, I knew it was time for a pantry clean out!
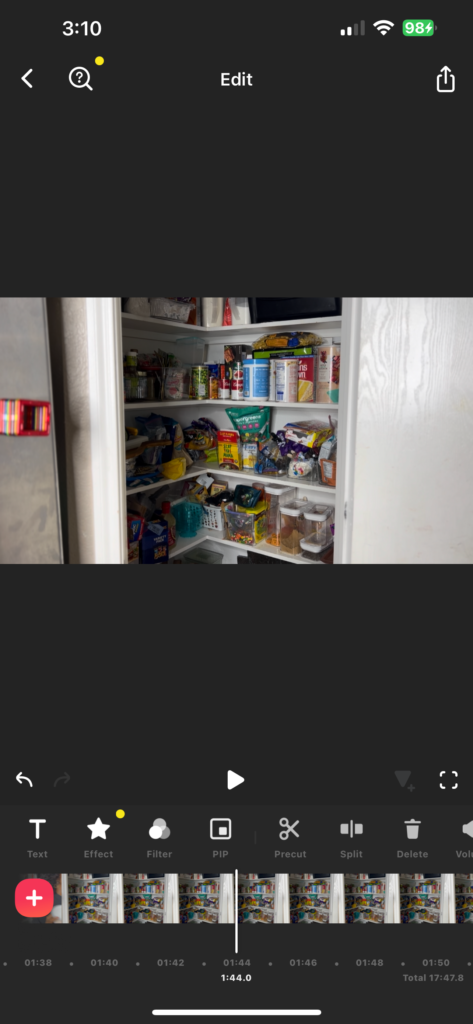
With the price of groceries increasing almost over night and constantly trying to overhaul the budget, something needed to give. This time I meant business. No more just cleaning out the pantry.
As a single parent, it became important that I optimize the budget as best as possible. As a Christian, I knew I was not being a good steward over the blessing of having snacks readily available. I needed to change this.
Luke 16:10 If you are faithful in little things, you will be faithful in large ones.
Step 1:Demo Day — Tearing Out the Builder Grade Pantry
Tearing out the builder grade pantry was more challenging than I thought. The hardest part was removing most of the caulk. It seems the builders got carried away in some areas, more so than in others.
But once the demo of all the shelves was done, I felt kind of overwhelmed. You can see it here on my face- the look of being in too deep but can’t turn back.
After I tore everything out, I used painter’s tape to get an idea of spacing and layout.
Step 2: Building a New Pantry Cabinet for Added Storage
Before I built the pantry cabinet box, I needed to build its base. Using the same method I used to build this floating desk, I built the pantry box’s base.
Now I have to give credit where credit is due. I watched Shara Woodshop Diaries video to learn how to build the pantry box and adjustable shelves.
These clamps came in clutch along with this shelf pin hole maker for the adjustable shelves.
To maximize counter space in my kitchen, I needed a place for storing things like my Ninja Foodie – a favorite kitchen item. I also needed space for our lunch bags, juicer, and storing smaller pantry items.
Here’s a list of everything I used for making my pantry box. Note: How much needed for making your own pantry storage is going to depend on the size and design you want for your pantry cabinet.
Using the standard size of a pantry cabinet, I cut my plywood to size. Next, I drilled pocket holes into the side pieces that would connect to the back panel. Afterwards, I did the same pocket hole drillings into the top and bottom parts of the pantry box.
This should leave you with a box like the one shown below.
Step 3: Revamping the Shelves to Look Better Than the Original
The original, builder grade shelves were made of MDF and painted white. Where the builder grade shelves were cut short, the builder over-filled the gap with caulk. LOTS OF CAULK!
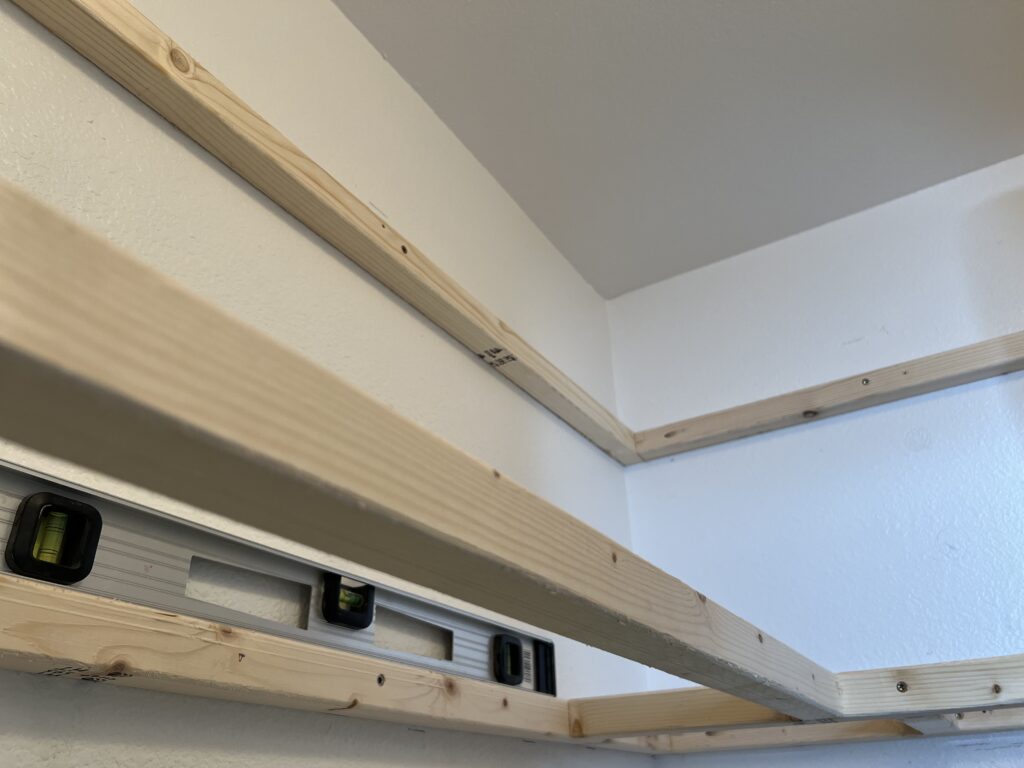
After the pantry box was built and installed, I took my measurements again because Ya girl is NOT the greatest at measuring! I made the frames for the shelves. Here’s what I used to make my own pantry shelves:
Step 4: Adding a Top Shelf to Reclaim Wasted Space
There was empty space at the very top of the pantry shelves. I built an additional shelf, taking this pantry from a four shelved wasted space to a five shelf with storage added pantry.
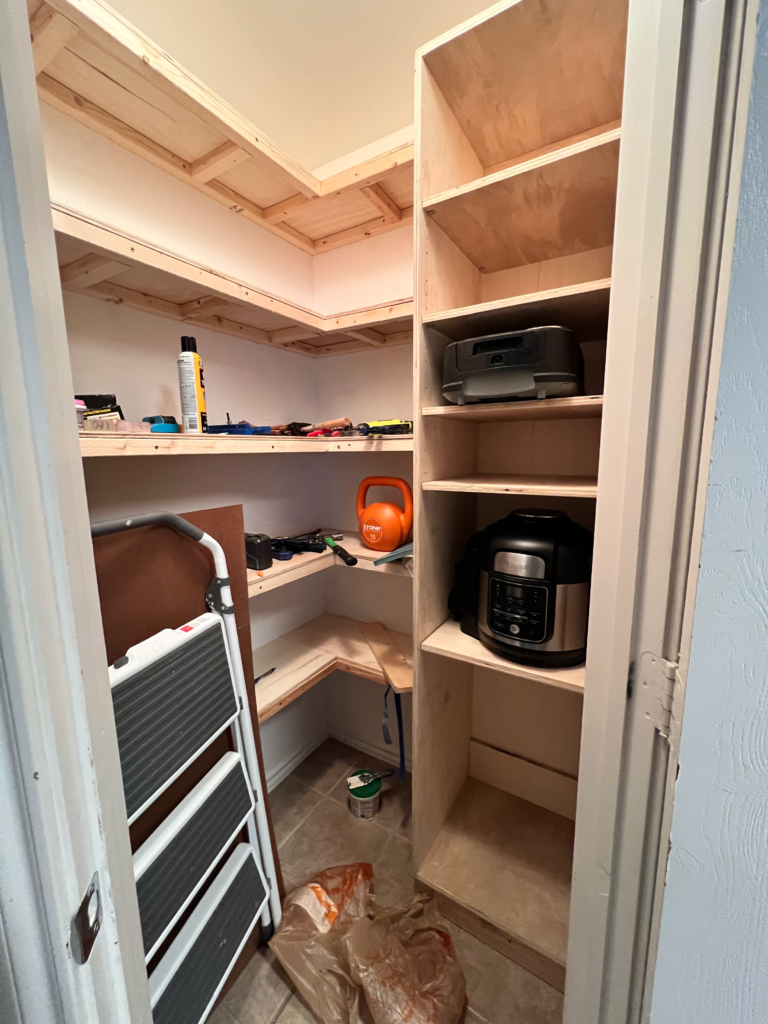
The Reveal: A Builder Grade Pantry That Finally Functions
Finally, we are saving money by not re-purchasing things lost in our pantry’s old chaos. This upgrade has allowed for my space. I am most excited about the pantry cabinet where I store my larger gadgets – such as my stand mixer and juicer.
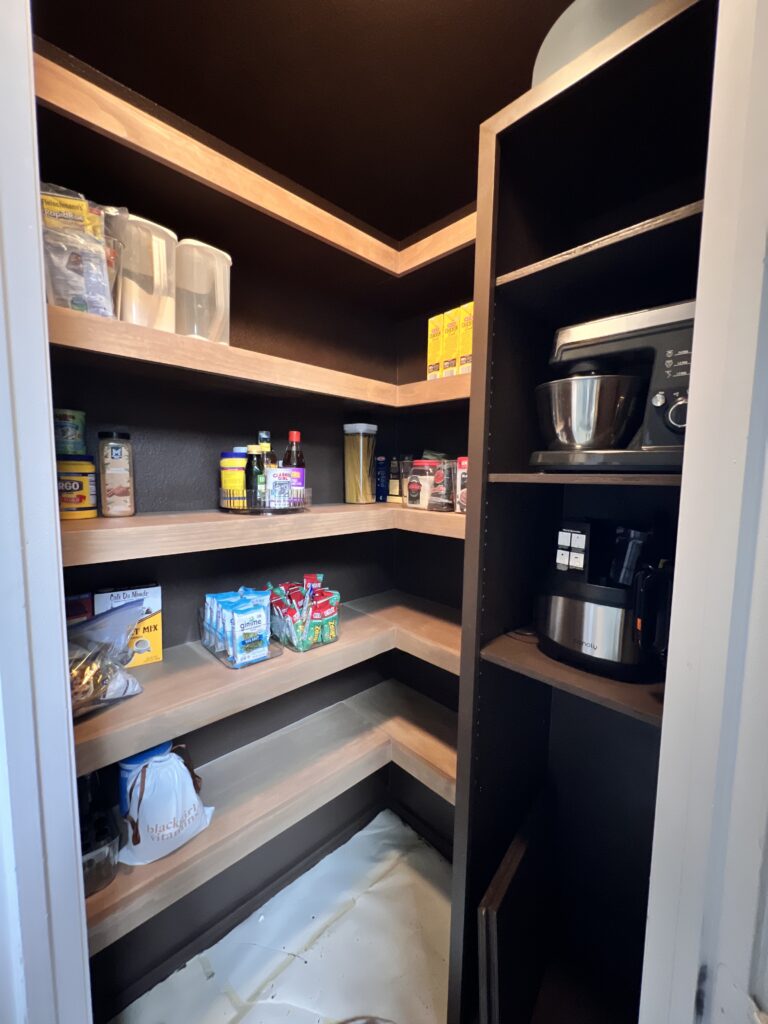
You can see this whole project come alive, along with all my other projects, on my youtube channel – where I give you the no fluff build of it all!
Well that’s all for now. Until we meet again…
Catch more builds on my channel: →Relaunch In Color!
Ya Girl, Kim!